How to Make a Photo Cake | Photo Cake Recipe – Chocolaty.in
How to Make a Photo Cake – Cakes are just not a dessert or not just any random food item but cakes are something really special. Cakes have a power to behold memories with them because it is one the special occasions mostly that we just cakes.
The love that people have for cakes have made it possible for the bakers to come out with some interesting and unique cake designs over the years. One of the most loved cakes recently have been the photo cakes. Photo cakes are definitely fancy and special. Having your photos on the cakes instantly adds so many special moments with it.
Now, what if we told you that you can make the photo cakes at your home by yourself. Of course, it would take a little more effort but it will be all worth it.
So, let us take you into the actual process of making it. We will be sharing the entire photo cake recipe here.
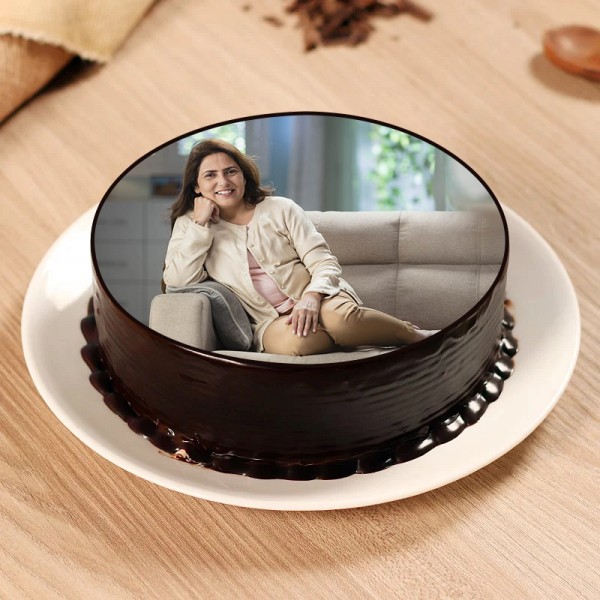
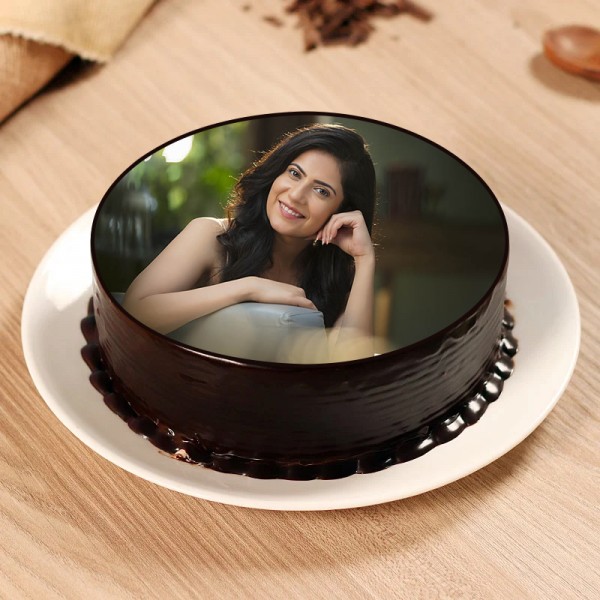
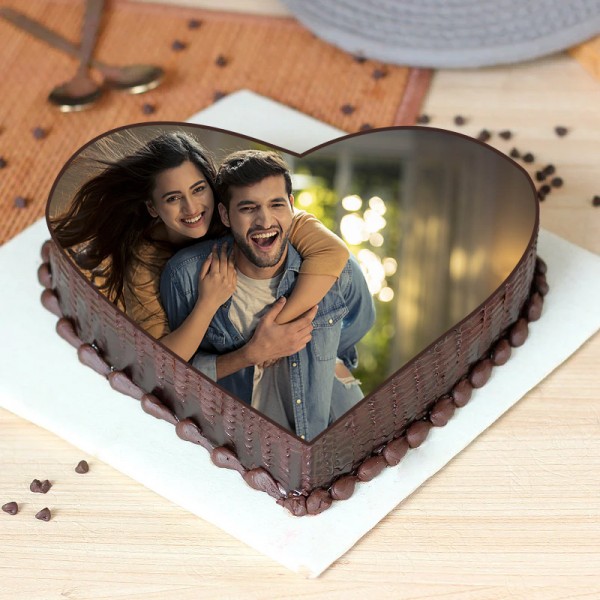
The Photos Print for Photo Cake Design
Okay, so if you haven’t had a photo cake before, let us break it to you that the photos on the photo cake design are edible too. Edible images are available in different sheets. Edible photo sheets are available in different sizes be it the full size for a cake or in smaller sizes for the cup cakes and muffins. These sheets are totally customisable.
On these edible sheets, you can get the photos printed for the photo cake design. Then you need to peel and place photo edibles on your frosted or chocolate-covered cakes very smoothly so that it fits on the cake like a glove. Also, to let you know that these edible images are FSSAI and Kosher approved.
You need to select a picture of your choice to get it printed on the edible sheet. Make sure to choose a picture of HD quality so that the print is also good. If you choose a picture with lesser resolution, then it will get pixelated in the print out on the sheets and it won’t look good on the cake. It can also deteriorate the entire look of the cake.
Once you select the picture of HD quality, get it printed on the edible sheet as per the size of the cake. Make sure to get the print out in exact size of your cake so it fits nicely.
These photo cake design work best for the birthdays, anniversaries, and mostly all functions.
Photo Cake Recipe | Let’s Bake
Once you have the edible sheet ready the picture of your choice, now is the time to bake the cake. Let us tell you the photo cake recipe in detail here.
- The first step is pre heating the oven at a uniform 350 degree Fahrenheit because this temperature would be required throughout the baking time.
- The best utensil for baking the photo cake has to be the 9-inch springform pan.
- Meanwhile, take a bowl, and mix the major ingredients for the cake which are mixed graham cracker crumbs and molten butter. Keep mixing them until both of these are inseparable.
- Once done, press this thorough mixture on the bottom of the pan.
- Take another bowl in which you will mix cream cheese with the sugar until it forms a smooth, consistent mixture. Add milk and eggs to it. Keep mixing. Now add sour cream and vanilla essence and sifted all-purpose flour until eventually it is smooth. Pour this mixture inside the pan above the cake base. The cake base must have set by now.
- Here comes the main part of the photo cake recipe which is to bake the cake. You need to bake the cake for 70 to 90 minutes.
- Once the baking is done, you need to surely let the cake cool off inside the oven for about 5 to 6 hours. Make sure to do this step inside the oven itself because it will prevent the cake from cracking.
- After the cake is totally baked, take a toothpick and do the tooth pick test. The toothpick test is the test in which you insert a toothpick inside the cake and take it out. If the toothpick has no trace of cake or moist in it, it means that the cake is perfectly baked and is not unbaked at all.
- Now, transfer this cake inside the refrigerator and let it cool for around 1 to 2 hours.
- Take out the cake after 2 hours. By now, it must have been totally cool. Now is the time to press on the photo for the photo cake design.
- Carefully take the print and keep it over the cake and place it thoroughly over the cake as per your desire. Make sure you are fitting it correctly on the cake. And it will be done. Now, your photo cake design is ready and your cake is also ready to be consumed and celebrated.
- If you want to decorate your cake further, you can use a cake topper or something and add on the cake to make it look cuter.
We told you, it is super simple to bake a photo cake. With this photo cake recipe we easily told you how to bake a photo cake at your home with a little extra effort. If there is a special occasion in your loved one’s lives, then you can take up the challenge and go ahead. It is not at all tough and a lot worthy.
How to Make a Photo Cake – Cakes are just not a dessert or not just any random food item but cakes are something really special. Cakes have a power to behold memories with them because it is one the special occasions mostly that we just cakes. The love that people have for cakes have…